
How to Install Windows Server 2016
In this article, we will discuss how to install Microsoft Windows Server 2016.
How to Install Windows Server 2016 step by step.
If you haven’t downloaded already Window Server 2016 download first. Click here to download and sign in with your any Microsoft account and click download.
System requirements
Minimum:
1.4 GHz 64-bit processor
Compatible with x64 instruction set
Supports NX and DEP
Supports CMPXCHG16b, LAHF/SAHF, and Prefetch
Supports Second Level Address Translation (EPT or NPT)
RAM
Minimum:
512 MB (2 GB for Server with Desktop Experience installation option)
ECC (Error Correcting Code) type or similar technology
Storage controller and disk space requirements
Computers that run Windows Server 2016 must include a storage adapter that is compliant with the PCI Express architecture specification. Persistent storage devices on servers classified as hard disk drives must not be PATA. Windows Server 2016 does not allow ATA/PATA/IDE/EIDE for boot, page, or data drives.
The following are the estimated minimum disk space requirements for the system partition.
Minimum: 32 GB
Network adapter requirements
Minimum:
An Ethernet adapter capable of at least gigabit throughput
Compliant with the PCI Express architecture specification.
Supports Pre-boot Execution Environment (PXE).
Other requirements
Computers running this release also must have the following:
DVD drive (if you intend to install the operating system from DVD media)
The following items are not strictly required, but are necessary for certain features:
UEFI 2.3.1c-based system and firmware that supports secure boot
Trusted Platform Module
Graphics device and monitor capable of Super VGA (1024 x 768) or higher-resolution
Keyboard and Microsoft® mouse (or other compatible pointing device)
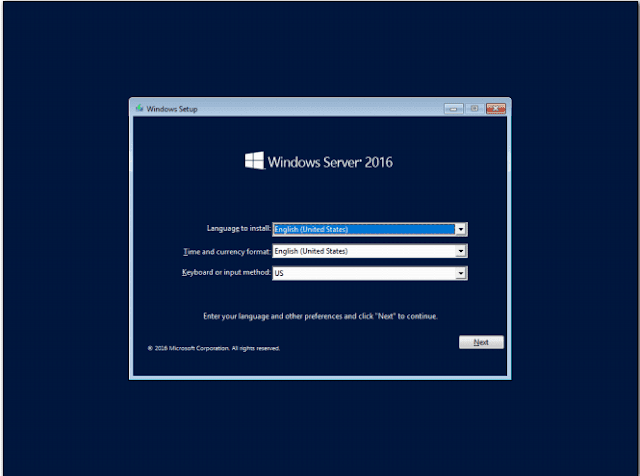
To install Window Server 2016 insert CD/DVD or bootable USB and boot.
Now leave as default click Next.
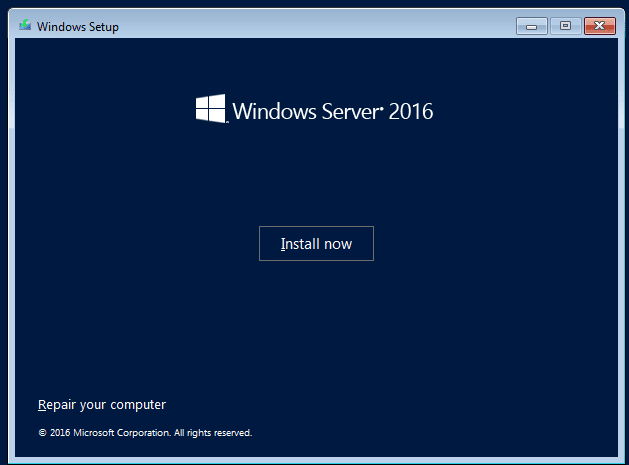
In this Window click on Install Now button.
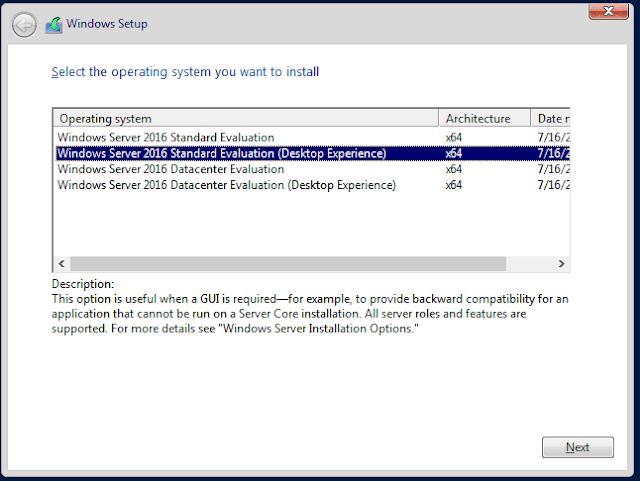
Here you have to select the 2nd option for GUI installation. By default 1st option is selected that is for Core Server Installation.
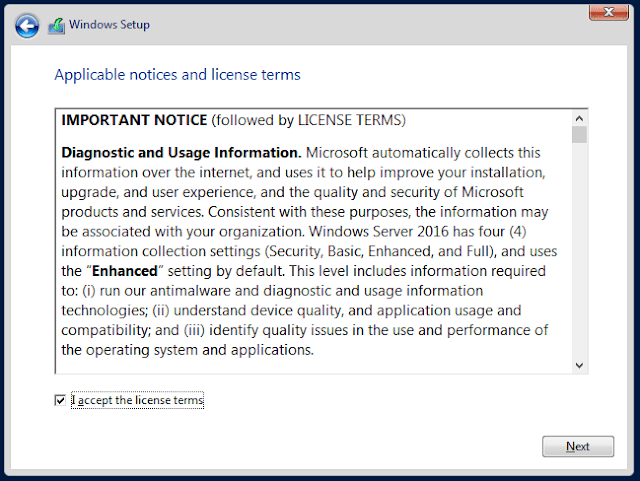
Read the license terms and Click I accept the license term then click Next button.
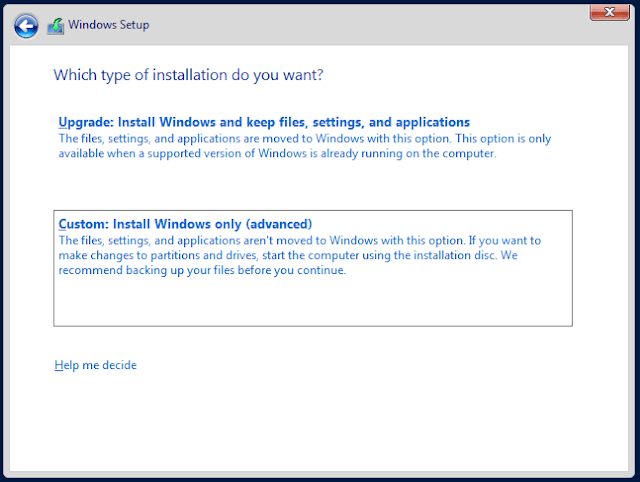
Select 2nd option Custom: Install Windows only (advanced).
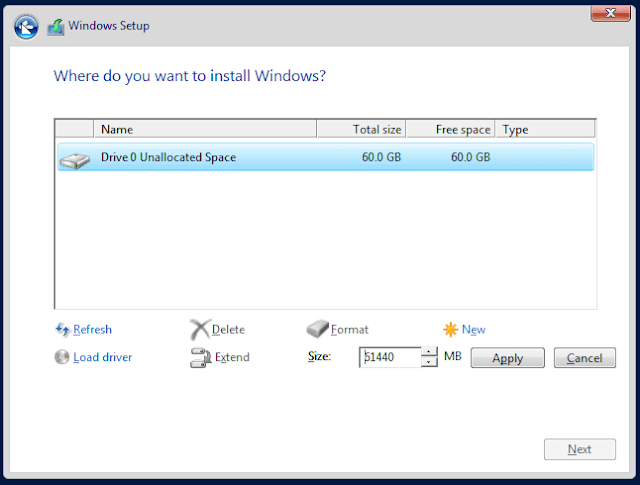
Create your HDD partition here then click Next.
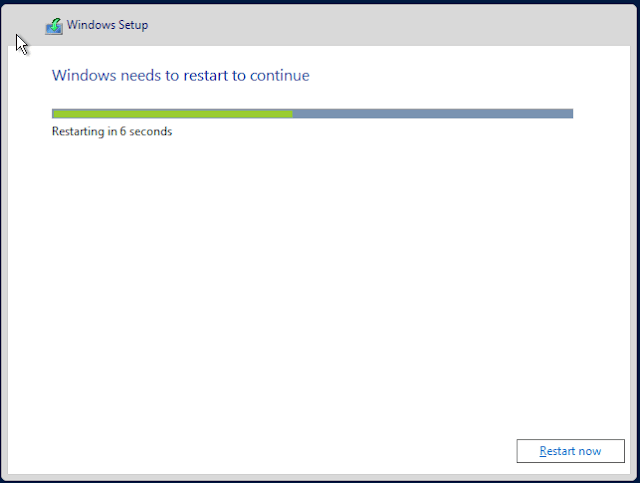
Wait here for the complete process.
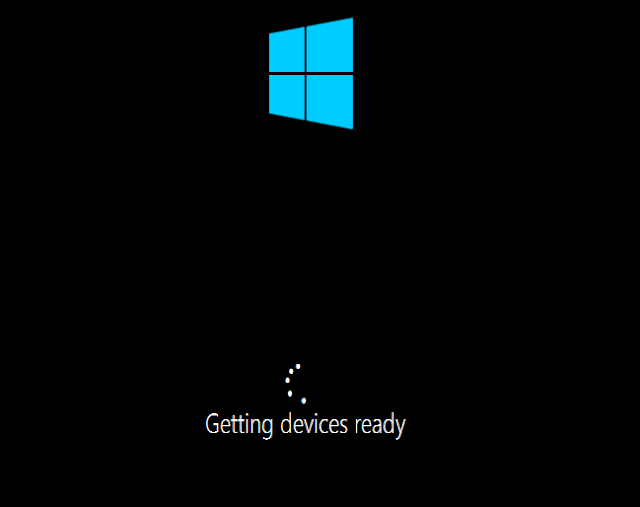
Here also take a little time for Setup your devices.
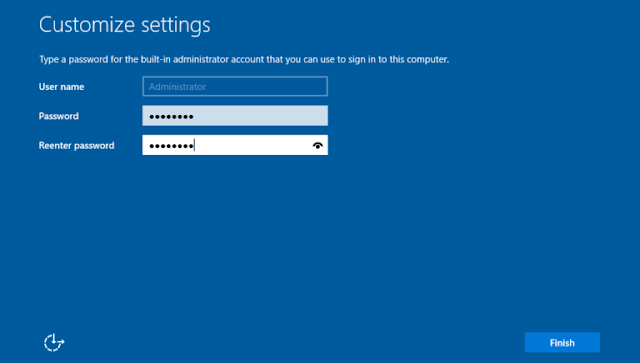
Now here setup your strong administrator password.
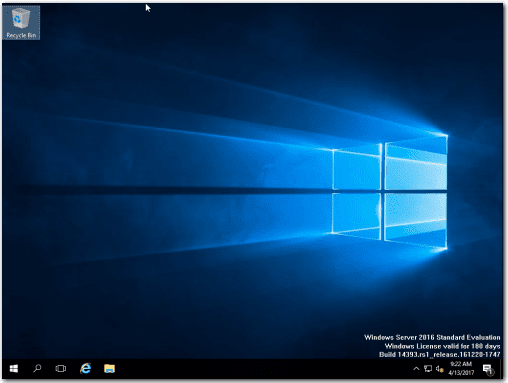
Press [CTRL-ALT-DEL] to bring up the login screen and enter your username password.
Tags:
Comments
Suresh Thapa — Apr 08, 2025 05:17
Good Explanation
Login to reply.
Suresh Thapa — Apr 08, 2025 05:27
thanks
Please login to leave a comment.